7 Important Things To Do After Creating a Blog
Created a blog? Good work. Now there are certain important things you need to do grow your blog & protect it.
Blogging is one of the best ways to make money online & an example of self-employment. Starting a blog is a simple process. Working on it matters.
If you have just started a blog then here are 6 most important things to do after creating a blog. Read on.
If you have created a blog, I think that you may have done the following things already –
If you have not done the above things, then do it. They are necessary.
Things To Do After Creating a Blog
Here is the list of things that you need to do in order to make the most out of your blog. Let’s go!
1. Submit Your Blog
Most of the traffic comes from search engines (majorly Google). But if your blog doesn’t show up in search results, you will not get organic traffic.
Hence, you have to submit your blog in the search console. The step-by-step process is given below.
Follow the steps –
1. Open Google search console.
2. Sign in to your Google account.
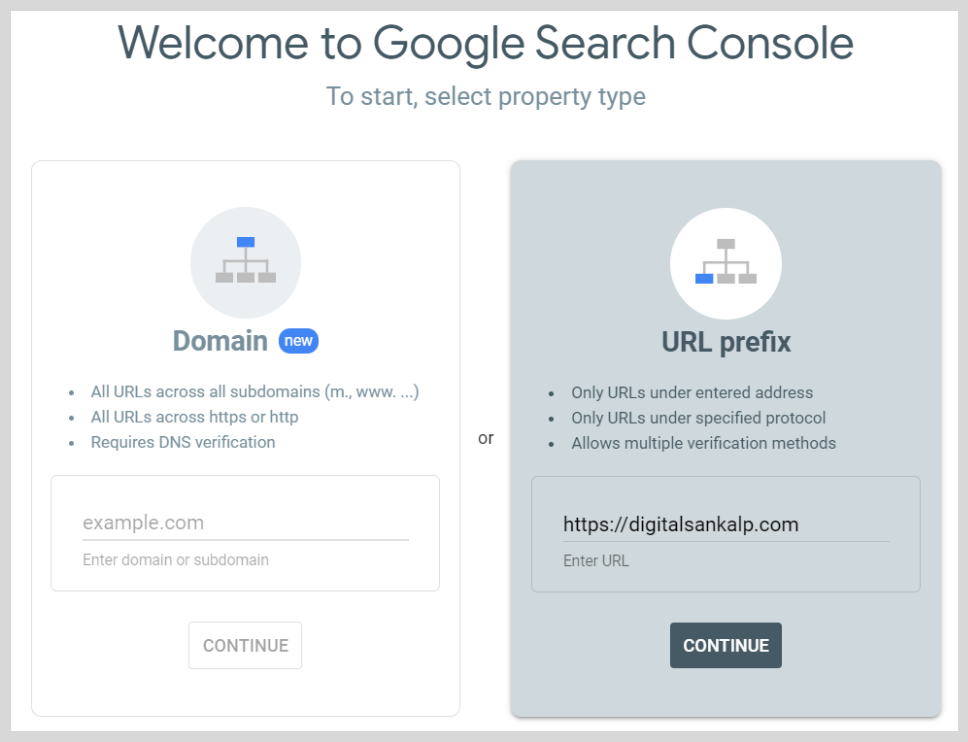
There are 2 methods to add your blog – Domain & URL Prefix. You can go with any of the methods.
Here, the URL Prefix method is used.
3. Enter your blog’s URL. Click on Continue.
4. Now, there are 5 methods to verify your ownership. The simplest one is ‘HTML Tag.’
5. Click on the Copy button to copy the code.
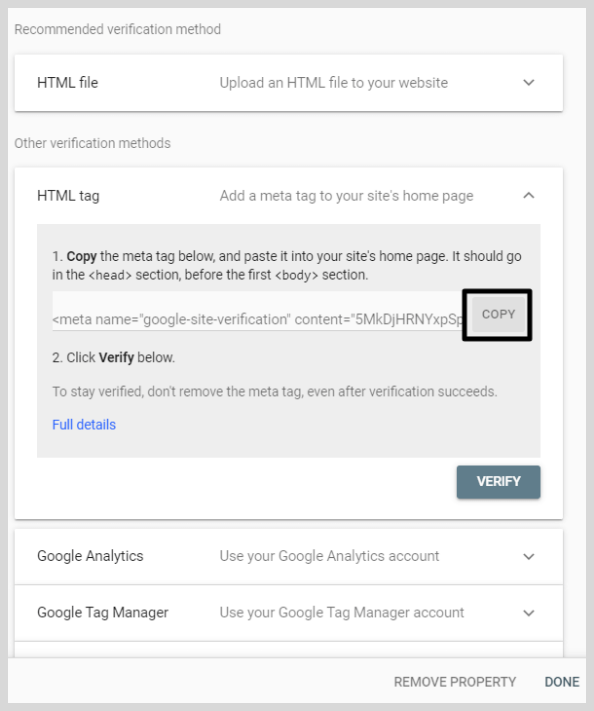
6. Open your blog’s theme file & paste this code in the head tag.
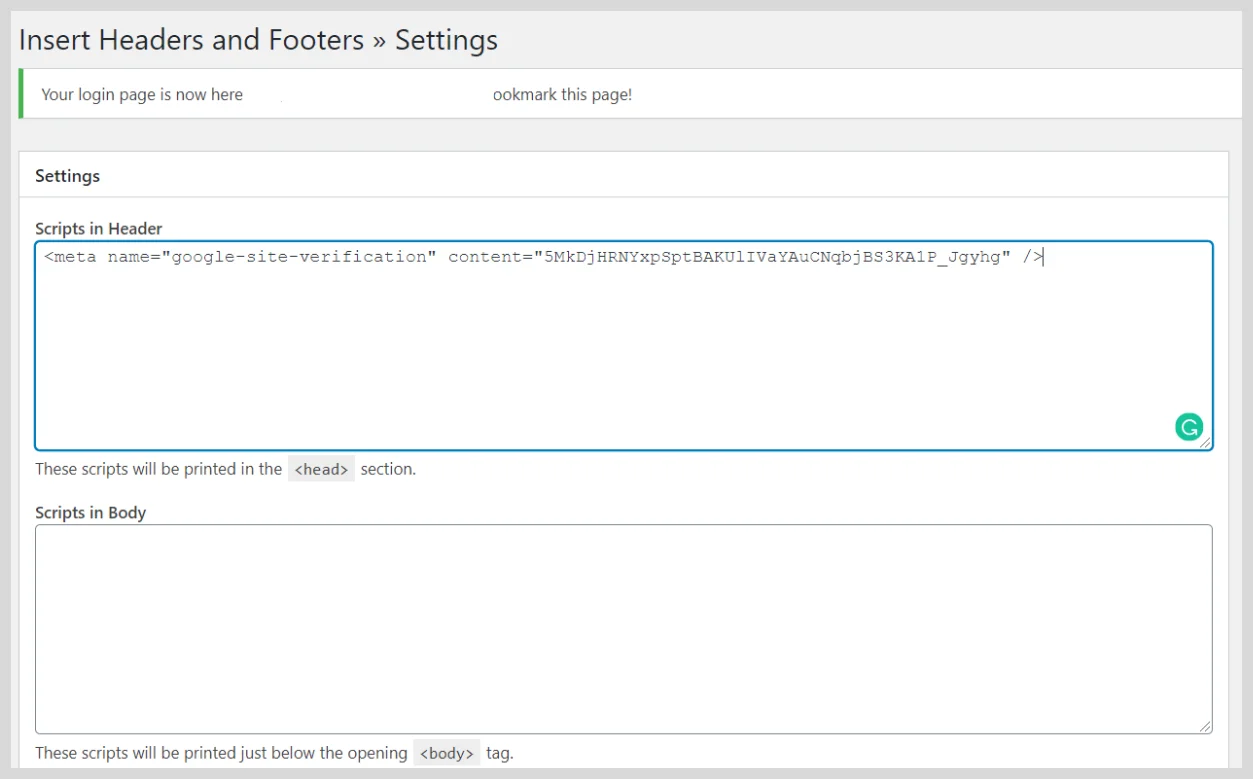
If you are using WordPress, you can install a plugin called Insert Header & Footer & paste this code into it.
7. Click on Verify. That’s it!
Now, you can see your blog’s performance in search results, indexing issues & can use other useful tools.
2. Submit Sitemap
After verifying your website in Google search console, the next step is to submit the sitemap of your blog. It contains all the URLs on your blog.
If you have installed an SEO plugin, you can see your sitemap at the URL –
“http://yourdomain.com/sitemap.xml”
In my case, it is –
“https://sankalp.digital/digitalsankalp/sitemap.xml“
You can also install the XML Sitemap plugin for WordPress site.
Head over to the Sitemap tab in the search console. Write your URL & hit the submit button. You should see that your sitemap is successfully added.
3. Create Social Media Profiles

Your blog’s presence on social media is a must. Most of the traffic to your blog may come from social media.
Hence, choose your blog’s name such that the name is available on major social media platforms including Facebook, Instagram, Twitter, Pinterest.
For example, my blog’s name is “DigitalSankalp” & if you take to look at major social media platforms the username “DigitalSankalp” is available, make sure to follow them 😉
4. Install Necessary Plugins
If you are not using WordPress, just skip this.
If you are using WordPress, there are many plugins available to install that provides powerful features & customizations.
Some of the important plugins you should install are given below.
Backup Plugin
What if your blog gets hacked & gets deleted. In this case, you should have a full backup of your blog.
Many top web hosting providers like Siteground, A2 Hosting provide free backups. But, what to do if your hosting provider doesn’t provide it?
If you are using WordPress, you should install the Updraft Plus plugin. Using this plugin, you can create a backup of your website manually & automatically.
Follow the steps below to automate your backups –
1. Install the UpdraftPlus plugin. Activate it.
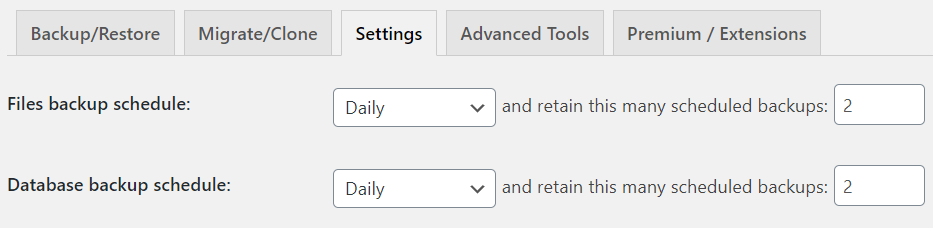
2. Head over to the Settings tab of the plugin.
3. Now, select the schedule for backups. If you want daily backups, choose daily. If weekly, then select weekly.
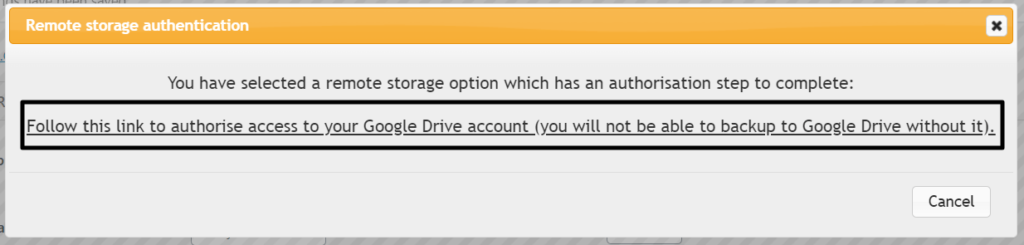
4. Scroll down & select your remote storage location. In my case, I am selecting Google Drive. Click Save Changes.
5. Now a message will pop-up. Click on the test highlighted.
6. Select the Google account & click on Allow.
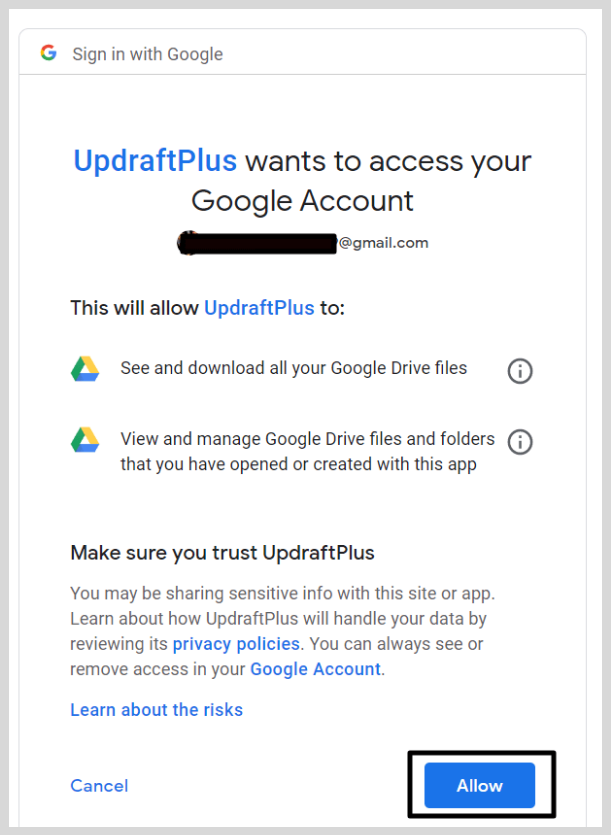
7. Now, click on the Complete Setup button.
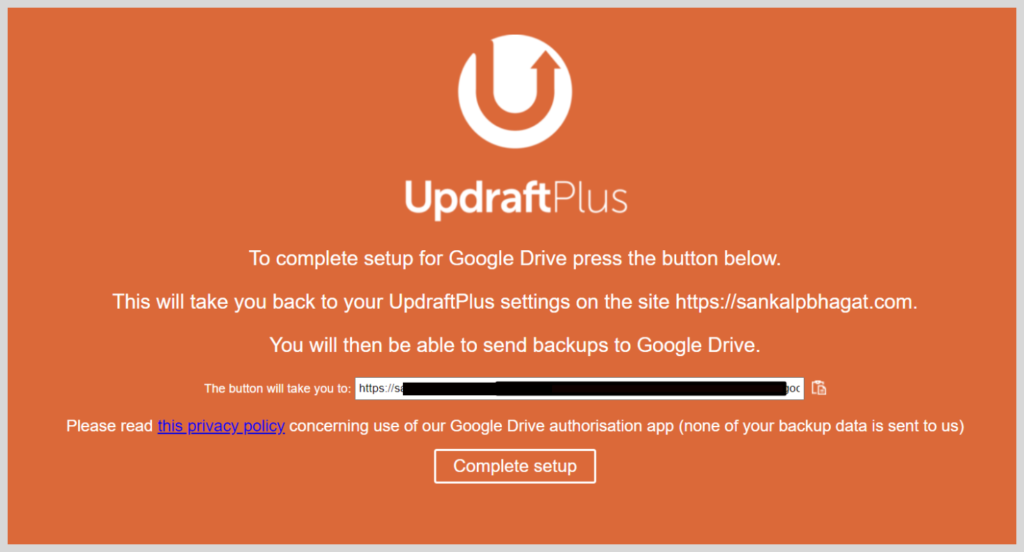
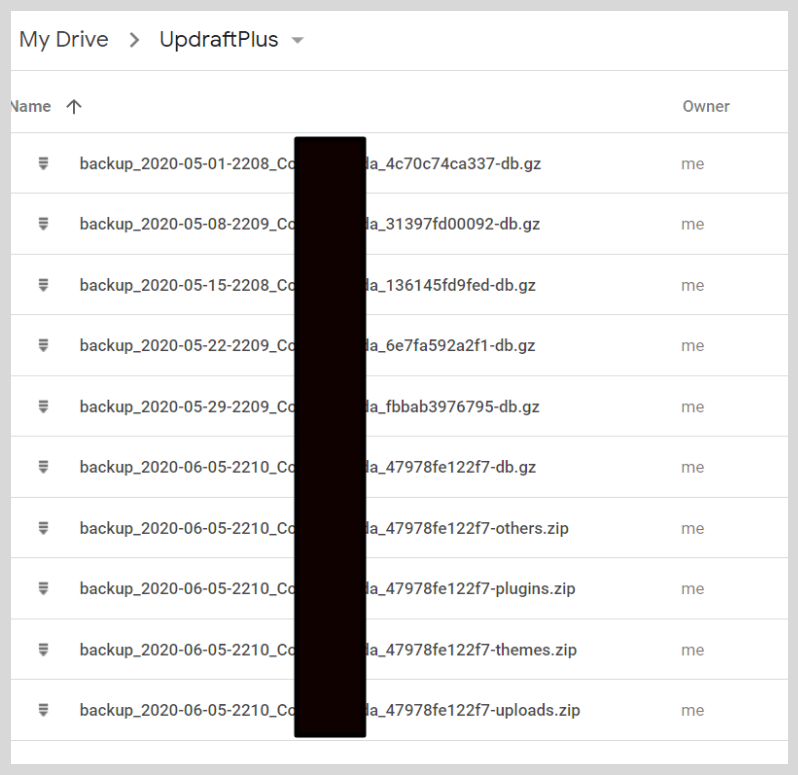
8. That’s it. Now you can check your backups in your Google drive.
You can watch the tutorial below –
Security Plugin
To secure your blog from malicious activities or hacking, you should install a good & trusted security plugin.
Wordfence security plugin is popular & offers great features. You get a firewall, malware scanner, login security, live monitoring, etc.

SEO Plugin
Without SEO (Search engine optimization), a blog is nothing. It’s the SEO that helps your blog to show up in search results & rank.
If you are on WordPress, you can install the RankMath SEO plugin as it is the best free SEO plugin out there. I & many bloggers use it.
Yoast SEO plugin is also great but has some limited features as compared to RankMath SEO. I personally recommend RankMath SEO.
Keyword research is important for writing articles that rank on Google. Try the Semrush SEO tool now for FREE!!
Cache Plugin
Faster websites rank higher in search engines. And to make them fast, a cache plugin is necessary.
W3 Total Cache plugin has almost all the things required to speed up a blog. It includes cache, minification, CDN integration, etc. You can read the configuration guide.
You can also buy WP Rocket at just $49. This plugin is highly recommended by many bloggers as it works like a charm & is easy to setup.
5. Set Up Google Analytics

Google Analytics helps you to check your website’s report. It gives you all the important details you need to understand your users.
To set up Google Analytics, follow the steps –
1. Sign in to your Google account & open Google Analytics.
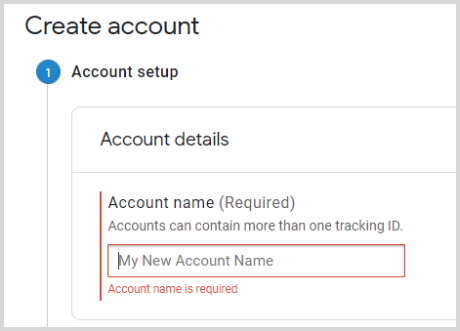
2. Click on Setup. Enter your account name (can be anything). Click on Next.
3. Select the Web option & click on Next.
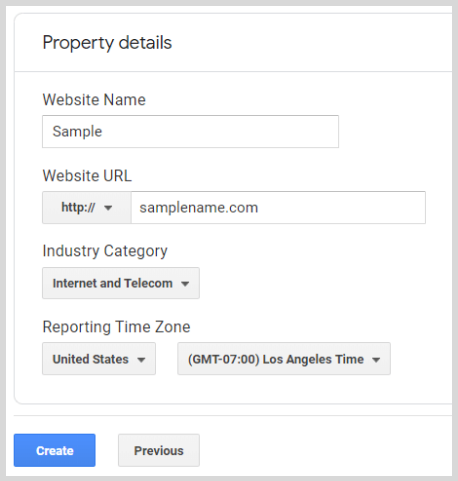
4. Enter your website’s name, URL, select category & time zone. Then, click on Create. Accept all the terms.
5. You will get a code. Copy that code.
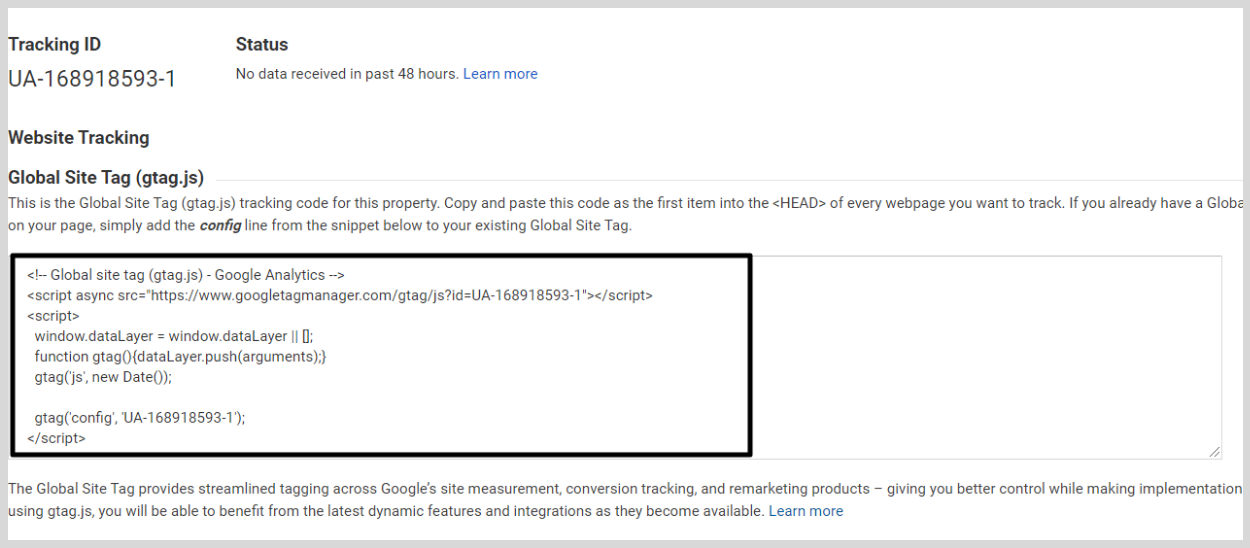
6. Open your blog’s theme file & paste the code in the head tag.
If you are using WordPress, install the Insert Header & Footer plugin and paste the code in it.
7. Done! You are ready to use Google analytics.
6. Build an Email List
Nowadays, building an Email list has become much important. Almost every blogger, Digital marketers are building their Email list.
It includes collecting Emails from your audience or users & send them emails. Building an Email List helps a lot.
Why building an email list is important?
Benefits Of Email List –
How To Build an Email List?
To build an email list, you need an email marketing platform. There are many platforms available to build a list & send out Emails.
Aweber
Used by many bloggers, it includes unlimited Emails, landing page builder, campaign automation & good support. Pricing starts at just $19/month.
Mailchimp
Popular platform to get started for free. It has great features like automation, pre-built templates, custom domains, etc. Get started for free or $9.99/month.
Other good Email marketing platforms to mention are GetResponse, Drip, Sendinblue, ConvertKit, ConstantContact, etc.
You can collect emails by putting a Sign-Up form on your blog or a pop-up form. Offer them a freebie & tell them to put their Email ID to receive that freebie.
So, start building your email list now!
7. Monitor Uptime

It is important to monitor the uptime of your website. It tells you how much time your website was down along with a constant response time graph.
I recommend Uptime Robot to monitor website uptime as it is free to use. It checks your website at 5 min intervals & sends an email when the website gets down.
You should also keep checking your website speed regularly & see if any problems are occurring while browsing the website. You can use different website testing tools.
It is necessary that your website is available to users & they do not face any problems because they are the ones who you made the website for.
Conclusion
This is it. These were the important things to do after creating a blog. If you have followed all the things mentioned above, you are good to go. I recommend you not to miss anything. These are the things that are really important.
Good luck with your blogging journey!
FAQs
What to do after creating a blog?
Do the important things –
- Submit your blog to search engines.
- Submit your blog sitemap.
- Create social media profiles.
- Set up Google analytics.
How to submit a blog?
You can submit your blog to various search engines such as Bing, Yahoo, especially to Google. For this, you need to add your blog to the Google search console.
Is starting a blog worth it?
Definitely Yes. Blogging is one of the best ways to make money online and has a lot of potentials. If worked properly, you can become a full-time blogger.
Which are the important plugins to install?
Some of the important WordPress plugins you need to install are backup plugins like UpdraftPlus, security plugins like Wordfence, SEO plugins like RankMath SEO, and cache plugin like W3 total cache.
Is taking website backups important?
YES! If your website gets hacked or stops unknowingly, you should have a backup to restore your site.